
Morbid title, I know. But it seemed appropriate for talking about pastels. Crumbly little buggers, some of them. The nice part is that when a stick breaks -- butterfingers! -- it's not a total loss.
I've learned over the years how to re-constitute pastel dust into a usable form. Of course, I'll never reach the craftsmanship of the pastel makers over at Terry Ludwig Pastels or Unison Pastels, but I can make something out of the dust from my easel or the scraps of a broken stick.
Last week I was sorting my vintage Senneliers. The brand's full-size sticks are notorious for two things: having labels that are nearly impossible to remove and the ease with which the sticks break. Let's just say that there's a long history of this in their products. My vintage pastels were true to form, probably even more crumbly due to age.
Fret not! With a few common household tools I was able to mash up the scraps, mix up the dust into a paste and reshape it into a more ergonomic stick. Here are some photos:
And here's what you would need to do the same:
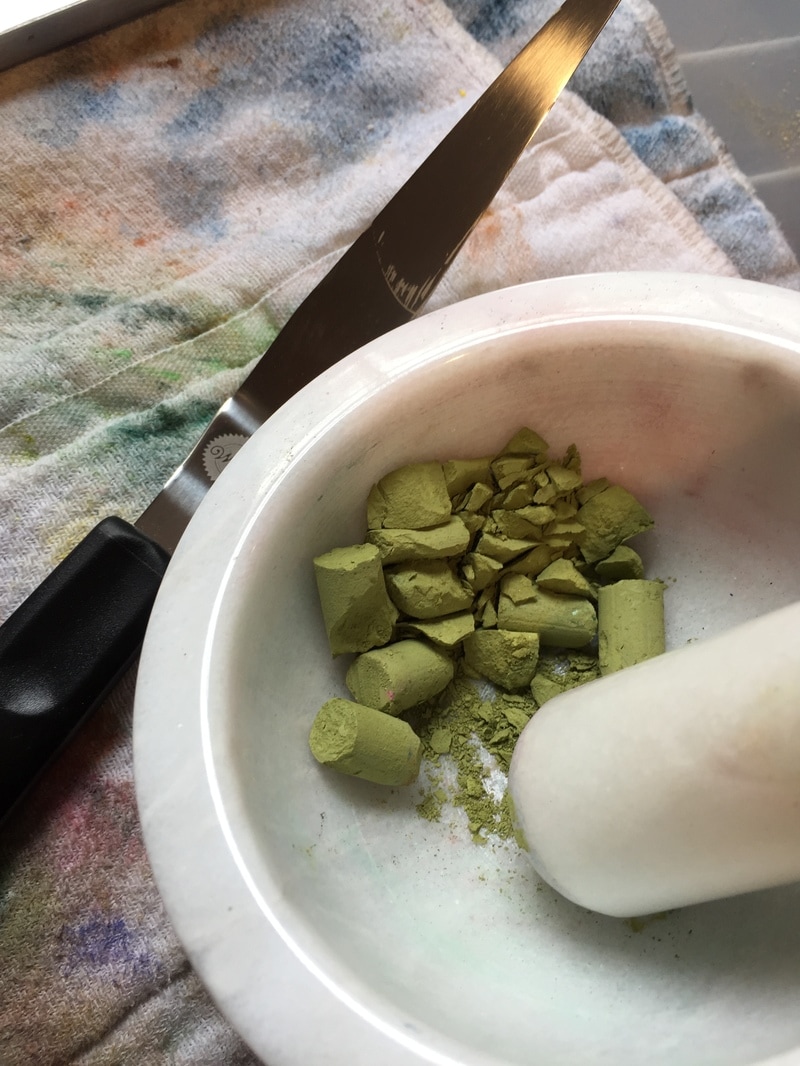
-- mortar and pestle
-- distilled water
-- eye dropper
-- putty or icing knife
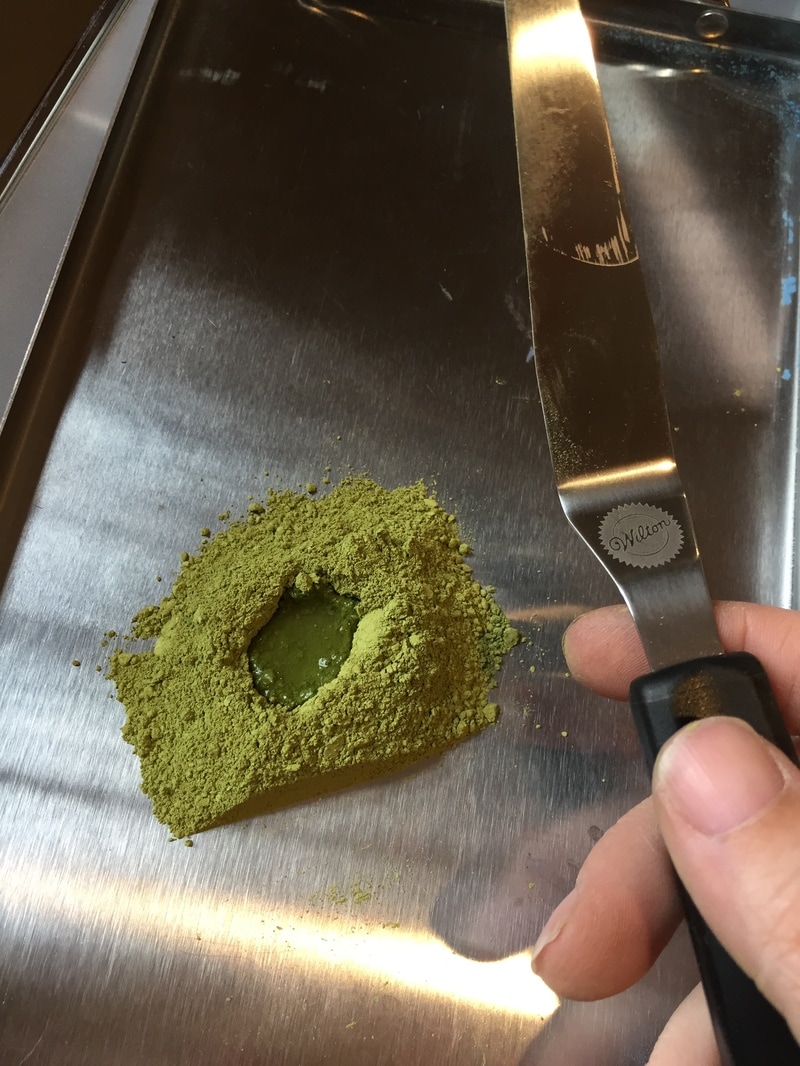
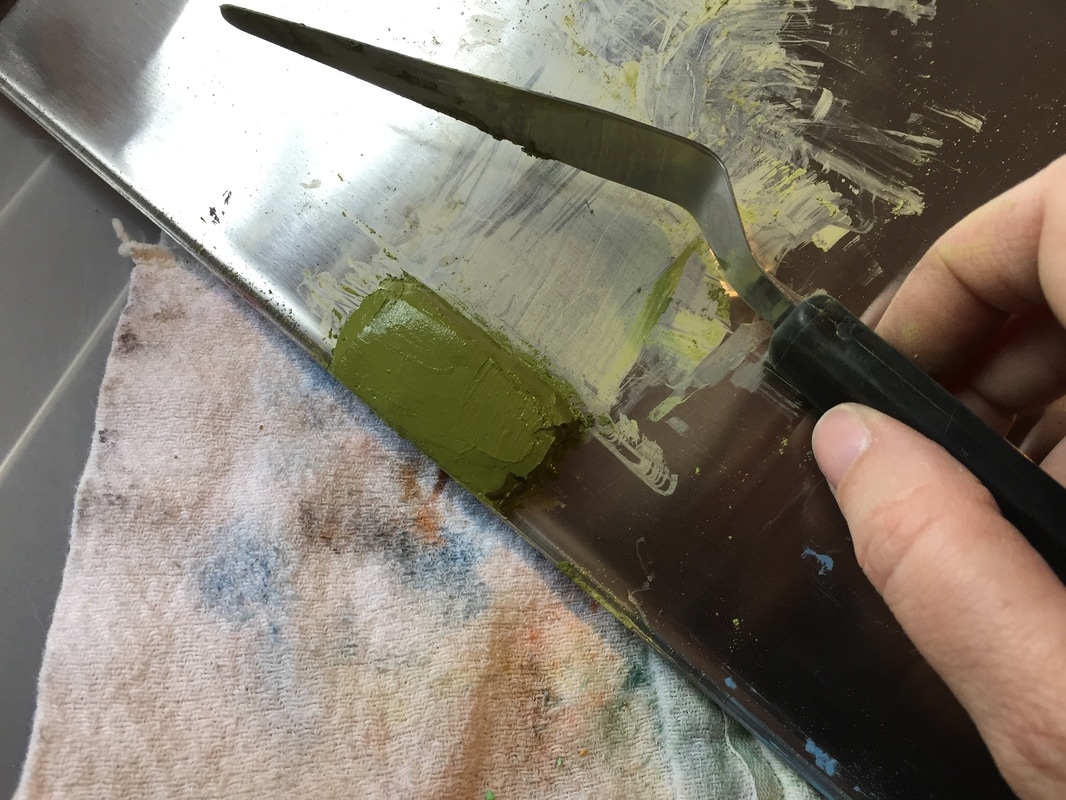
The process is simple: mash up the scraps you have into a fine dust. Transfer to a flat surface. Using the dropper and icing knife, incorporate distilled water until you have reached a paste-like consistency. Use knife to form into desired shape. Leave to dry 24-48 hours or as needed. Done!
If you haven't ever tried doing it, I encourage you to. There's something gratifying about mixing dust from previous works into interesting neutrals, or saving a favorite color that didn't survive a fall. Ashes to ashes, dust to dust.
-- mortar and pestle
-- distilled water
-- eye dropper
-- putty or icing knife
The process is simple: mash up the scraps you have into a fine dust. Transfer to a flat surface. Using the dropper and icing knife, incorporate distilled water until you have reached a paste-like consistency. Use knife to form into desired shape. Leave to dry 24-48 hours or as needed. Done!
If you haven't ever tried doing it, I encourage you to. There's something gratifying about mixing dust from previous works into interesting neutrals, or saving a favorite color that didn't survive a fall. Ashes to ashes, dust to dust.
 RSS Feed
